Showing posts with label tips and tricks. Show all posts

Wednesday, January 27, 2016

Must Have Guidebooks


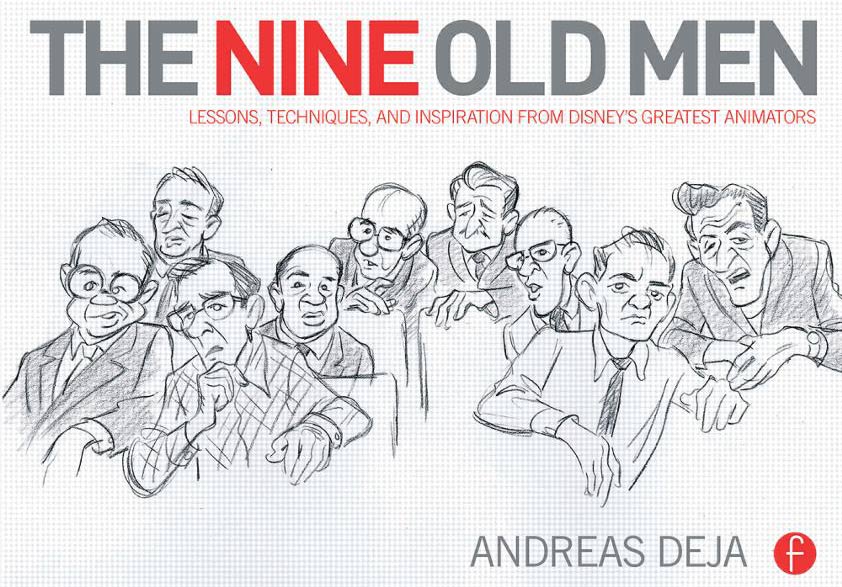
In case your wallets aren't crying from buying all your textbooks this semester, there are a couple of not-quite-textbooks that I definitely recommend checking out if you can get your hands on them.  If you're at all interested in the work and techniques of hand-drawn animation, these are must-haves.  The first one in question is The Nine Old Men by Andreas Deja - an animator who has contributed work to a wide variety of the Disney films' villains - which chronicles the stories of the nine biggest Disney animators and what work they contributed to what films.  Don't worry, there are plenty of pictures; this book features loads of storyboard artwork and sketches of keyframes from some of their iconic animation sequences.   Quite an interesting read for people looking for inspiration of what to draw and how to make their drawings come to life.

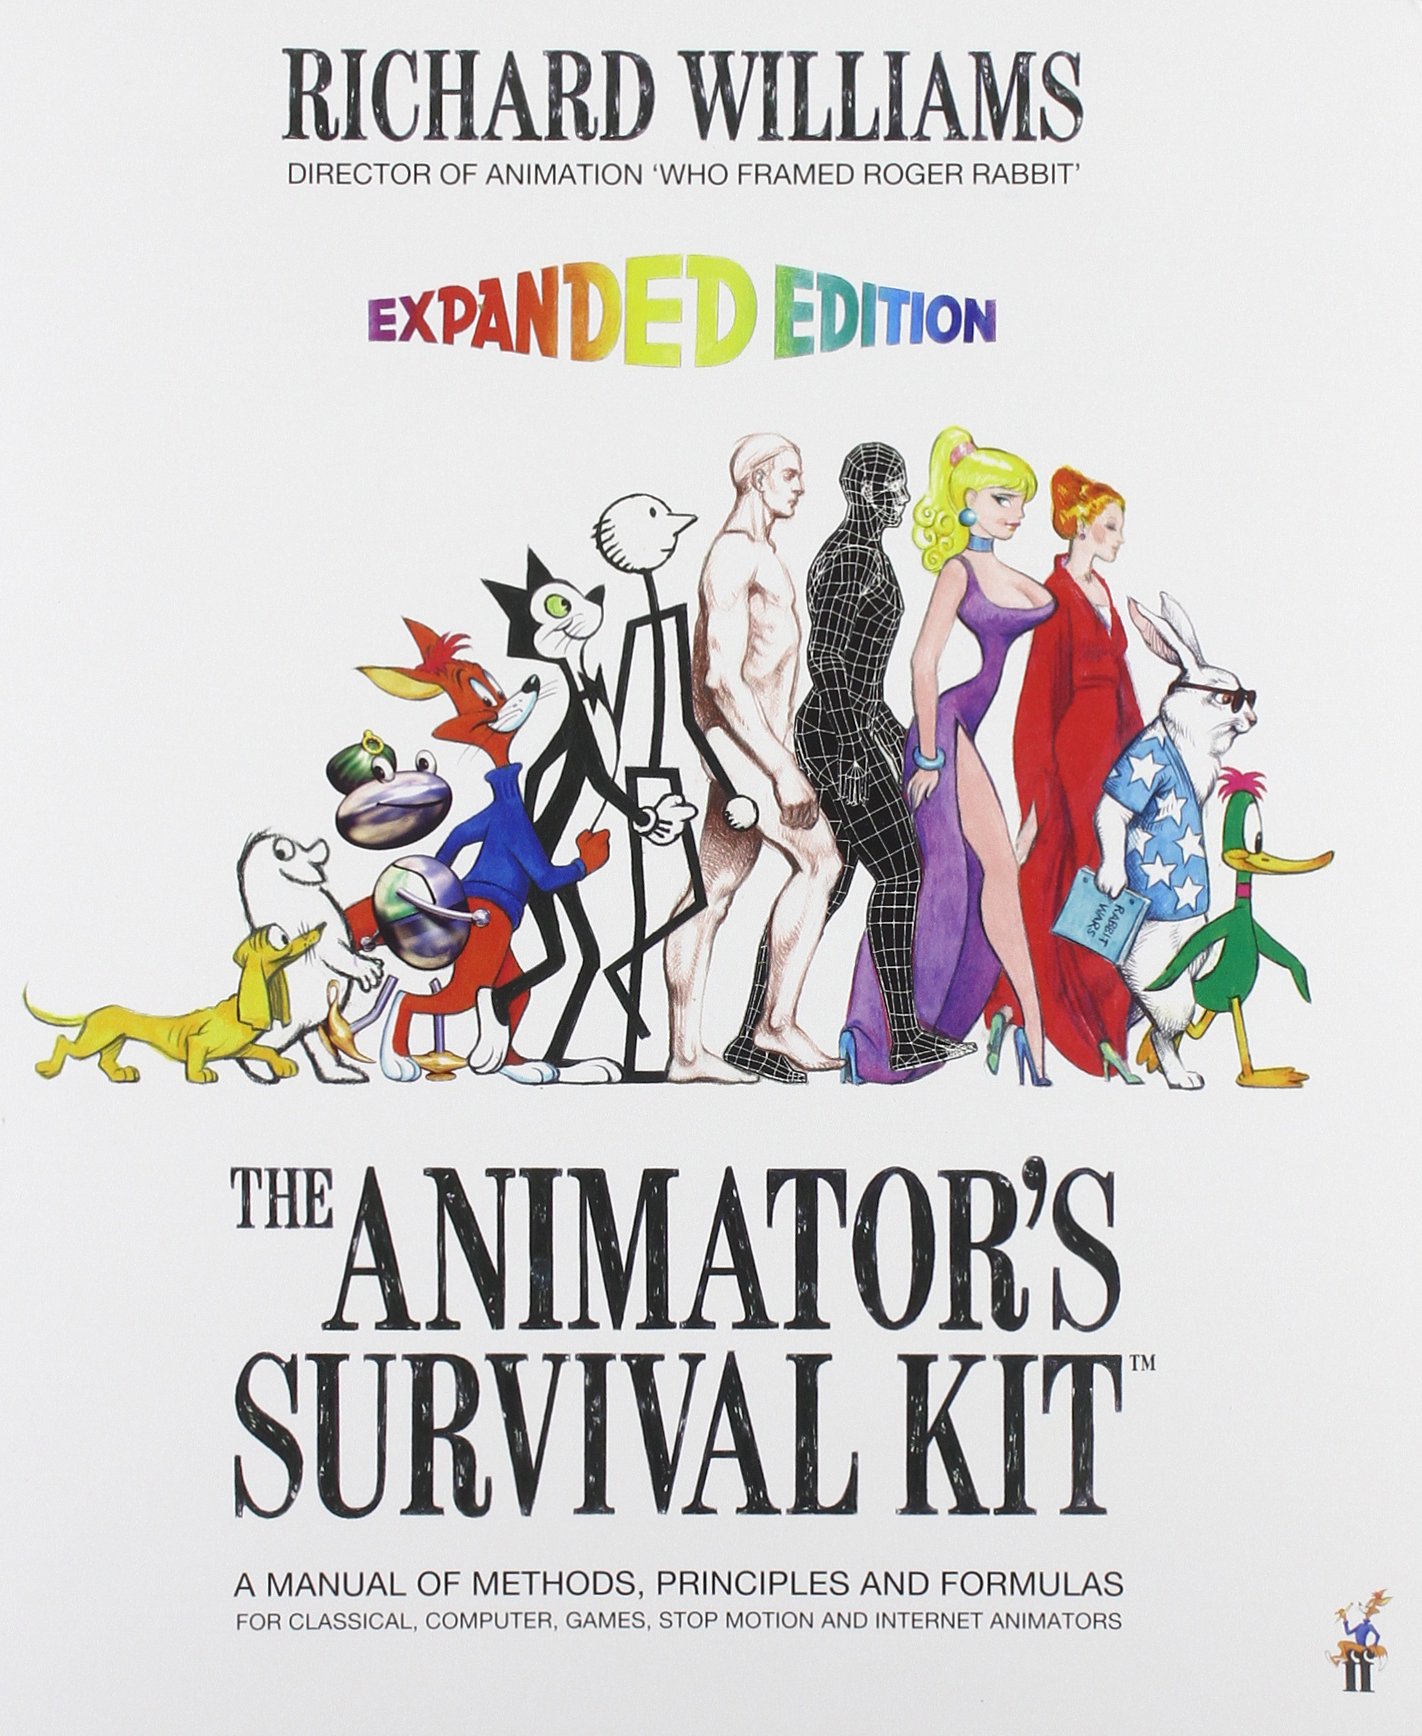
The second book to add to your shopping list is The Animator's Survival Kit, written by Richard Williams, the director of animation for the film Who Framed Roger Rabbit.  This entry goes more in depth on the tutorials for the fundamentals of hand-drawn animation; it includes the essential stuff like bouncing balls, walk cycles and body physics, but it also includes do's and don'ts of how to animate dialogue, the methods of visualizing the the sequence of anticipation-action-reaction, and a general workflow of this style of animation.  There's also some great examples of how to animate four-legged animals realistically, tips on directing a project, and other cool sequences that can make for some fun drawing exercises.  Not to mention all the text looks like it was hand-written (it probably was, it's the source of this book's charm).
So if you're ever looking to make the next Disney or Warner Bros. animation film, grab a lot of paper and pencils, an animation lightbox from PPECS, and these two books and you'll be well on your way.

Thursday, December 10, 2015

2D Motion Tracking Tips

The 2D Tracker

In After Effects, there is a standard tracker that will track parts of a video clip. See the image below. Basically, Box A looks for what ever pattern is in Box B across every frame, then exports this movement to the crosshair C.
Box A is call the Search Area
Box B is the Pattern Area
and the Crosshair C is where the data is exported to.

Once you hit play, After Effects follows the Pattern Area by scanning through the search area for the same pattern every frame.

That's all fine and dandy when you pick good tracking points, but what makes a good tracking point and how does this tracker work?

Good Tracking Points

For the most part, you want to select points with high contrast. This is all well and good, but what if you can't find any? as it turns out there are a few solutions:


Only track points that actually exist


Don't try to track the intersections of two objects because no mater what you try, that point is not going to stay the same as the camera's perspective changes. 


Don't track the edges of objects


Often there is high contrast on images with a building and the sky, but if this was a vide, we do't want to track that edge. For the most part, these edges allow the tracker to slide across it because of the similarity in the texture of the building and the texture of the sky. This results in an inaccurate track.


Never take your eyes off the track


When the computer is tracking your point, don't let yourself become distracted. Often when you aren't watching it, the track will veer off target. By watching it, zoomed in, you will know how accurate this track is going to be before it even finishes.


Use the right size tracker


As in most Tracking programs, you can designate the size of the pattern area, and the search area for your tracker in after effects. By changing the size to only encompass what you're trying to track you have a better chance of catching it every frame. Also if there is a lot of motion in your frame, perhaps it makes sense to have a larger search area.


What points to avoid

When tracking your points of high contrast make sure to pick points that do not have:
  • Motion Blur
  • Soft Focus/Rack Focus
  • Occlusion
  • Noise
  • Low Contrast
  • no features /single color
  • Interlacing

Some Ways of Correcting the above issues

Motion Blur


Expand the search area. The extreme motion of the camera maybe causing the pattern you were trying to track the movie on the default search area and this will cause a tiger to stop or slip.
Expand the pattern size. This gives this offer more information to work with and might help it to continue through the motion blur.
Sometimes manually tracking the point at the parts where the clip is most blurry can keep it on track.


Soft Focus/Rack Focus

Use a bigger pattern size. Bigger pattern sizes can sometimes compensate for the noise in the soft focus features because the program is simply more pixels. This causes a sort of averaging effect on the track.
Slightly blurry the image. It seems to go against common sense to blur the plate when blurriness is the problem you're trying to solve. This technique sometimes is more effective because it will help get rid of the graininess and produce a smoother track.
Sometimes tracking from the in focus part of the shot to the out-of-focus part gives you a better result too.


Occlusion

In order to solve occlusion, you can track it by hand or for the frames your tracking point is occluded find another tracking point that could potentially work for a little while. Make sure, when you move the pattern and the search area, that you leave the origin (Crosshair C) right where it was. It should still follow the motion, relative to the position of the pattern and search area.


Noise

Whatever you do, try to remove the noise. Noise really confuses it to the tracking system. If even buy D noising your image, you still have a lot of green, try tracking only one channel.All video is composed of R G and B values, and perhaps there is less grain in one  or two of those three channels.If all else fails's, do the track on the noisy shot, and use the smoother to all on the keyframes.


Low Contrast

Most 2D trackers will use the luminance value of the pixels they are tracking. If you can try tracking only in our, G, or be color channel instead. Sometimes one of these channels has more contrast than the others.Another solution is to add an effect of the clip that makes features more "legible." If you add a sharpen effects to your clip perhaps you can get better results.

no features /single color

If your clip has almost no features and is more or less a single color there is not many options. You could try tracking an edge, but the tracker may slip. You can try playing with the color channel your tracking, but you may not get any more information there either. Ultimately if you have to track a shot like this you are better off tracking it manually.

Interlacing

The easiest way to deal with this problem, is to Deinterlace the image before you begin your tutti track. Most compositing programs have a Deinterlacer.


I hope that you found some of these tips helpful in the projects you're working on, I know that they have been helpful for me and my green screening project!! 
Friday, September 4, 2015

Some Amateur Advice

Hey All!
So as I mentioned at the top of the class a few weeks back, I've been working as a freelance animator for the past 3 years. While I'm no where near a professional level I do think I've learned a few things during my time that might be helpful to those who might want to further explore animation as a medium. Here's a little piece that I put together a few years back if you guys want a better sense of the kinds of things I've worked on:

This project took around 30 hours to complete.

The Software
With the exception of some light After Effects work, I animate exclusively in Flash CS3. This version of flash came out a few years ago, but it's one that many animators still use today. It's got everything you need to produce quality animations, and it's got one of the widest library of plugins of any version of flash. 

That being said the program is a RAM hungry monster and will very often crash on you without warning. So make sure that whenever your working with flash, you save twice as often as you would in any other program.

The Hardware
As Professor Arturo mentioned earlier, if you're hoping to do any sort of design work you're going to need to get yourself a drawing tablet. I picked up my Wacom Bamboo fun around 4 years ago, and it's still going strong. If the pricetag is above what you're willing to spend then I'd advise working primarily on the Cintiq's in 168, they're top of the line and used by almost every full time animator I know and on top of that they are super cool. 

ALSO. While it's not essential for animating, I'd seriously consider purchasing your own condenser microphone. If you;re in a pinch and need to crank out some last minute foley having something like a Blue Snowball mic is incredibly handy.

The Work
There will be a lot of it, it will last forever, and it will be very tedious! However don't let that deter you! Once you get into the swing of things it's actually very relaxing to spend an after noon with a cup of tea, turn your higher functioning off, put on some beegees and let you lizard brain do the work. 

The best thing you can do to hone your skills as a novice is practice, but the SECOND best way is to watch tutorials online. Even if you;re only really half paying attention, you can learn a lot about how to better work your work flow when you're able to watch the way others work.

Here is a link to a great set of tutorials I put together a few years back, they're all about flash animation but they're really easy to follow and presented in a beginner friendly way. 

Tutorials: http://digifinch.tumblr.com/post/60180406538/for-people-who-want-more-help-than-i-can-give

That's all I can give you guys for now, but so often I find myself completely changing the way Iwork because of tricks or time saving plugins I've found. 

Have awesome weekend guys!

Thursday, January 30, 2014

Welcome to Film Riot


Ever wonder how movies did all their fancy After Effects effects? Of course you did! We all do, and that's what Film Riot's here for! Created by a group of film makers who love what they do, Film Riot teaches viewers how to do a wide arrange of things that the pros do. From pre-production to post, Film Riot encourages people to learn all the techniques.

Along with step-by-step tutorials in After Effects, Film Riot also has great Do It Yourself videos, to help you make the best cheap gear you can get. Film Riot can show you the ways of making cheap light stands, shoulder mounts, sliders, and more! While I haven't used all the DIY gear, I have used the slider, and I must say it is great! For less than $20, the DIY slider flows beautifully, and was a great tool to work with in many shoots.

Don't feel like learning, but feel like making instead? Great! Film Riots encourages viewers to not only watch their videos, but to go out and shoot their own films. Offering weekly video challenges, Film Riot wants you to go and make stuff! It makes sense when you think about it, the best way to learn the techniques they teach is to go out and actually do it!

So that's Film Riot! If you're interested in becoming a film-maker, or just want to learn more cool techniques, I highly recommend checking these guys out.