Showing posts with label Adobe After Affects. Show all posts
Showing posts with label Adobe After Affects. Show all posts
Thursday, April 14, 2016
Flash/Qucksilver After Effects tutorial

Friday, March 4, 2016
Thursday, March 3, 2016
Replacing the Sky with After Effects
I found this short tutorial on replacing a less interesting sky with a more visually pleasing one using in house effects. This process turned out to be more simple than I originally thought it would be and you end up with a pretty good final product. It gets slightly more complicated when you have a moving shot which then requires some simple tracking which isn't too difficult to execute. I would definitely recommend checking out this tutorial if you are looking for an easy way to replace a flat sky in your shots.
Wednesday, March 2, 2016
For my second project I have mentioned that I am looking into working on a motion infographic. The creation of the elements many be time consuming but I think it will be very worth it. I am currently working with a local design firm that is promoting a new cause called Pledge 4 Ithaca, which is about providing children in secondary schools a safe place or person to talk to if they are being sexual assaulted and then allows them to receive proper attention. I thought the launch of this program would be a perfect match for an infographic video.
I have begun to story board and think of effects and transitions, but am having trouble putting them into action. This is a tutorial that really helped me with navigating my way through After Effects.
I have begun to story board and think of effects and transitions, but am having trouble putting them into action. This is a tutorial that really helped me with navigating my way through After Effects.
Tuesday, March 1, 2016
How to Create 3D Clouds
Found this cool effect on YouTube to made clouds that pairs nicely to what we are learning in our motion graphics class. The tutorial pretty much makes the Ken Burns effect but with clouds. By taking apart the foreground mid and background by slicing creates this effect. Add some coloring and depth and you have yourself a cool effect of 3 dimensional clouds. Great tutorial if you need clouds in your shot.
Thursday, February 18, 2016
Pixlpit
This is Youtuber and animator Pixl Pit.
https://www.youtube.com/user/pixlpit/
I've stumbled upon a few of this guy's animations on Youtube before and I really like them.
Most of the animations I've seen from him have been where he takes the audio from another Youtuber's video and uses it to shape what he makes, while also often adding in some of his own audio to fill gaps. All of his animations on youtube are 3D and made in Maya. In addition to that, he also renders in RedShift and uses After Effects for compositing.
How I Made: Smoke, Space, and Snow! - Pixlpit Tutorials
At 0:43 seconds he zooms out, and you can see that the landscape he's working is actually a "bunch of pancakes." As someone not very familiar with Maya or 3D animation, I found it very fascinating that he was able to construct this environment from a few of simple forms. Furthermore, I liked that he was able to manipulate how it was viewed by changing the zoom and angle of the "camera" (I don't know how this is done specifically in Maya, but in After Effects there are cameras that achieve this). I don't know how helpful the tutorial actually is, but it's cool to watch his process and see how he makes these things.
Here's another video he did using the sound from another Youtuber's video.
Wednesday, February 17, 2016
The Walking Dead: Learning 3D Cameras in AE
When I was first introduced to the camera and 3D components of After Effects this past summer I watched this animation as a great reference for some of the possibilities that the program allows.
The animation was done by Daniel Kanemoto for the television series The Walking Dead. Kanemoto is also the creator of Ex Mortis Films and has done other interesting animations for well-know names such as Animal Planet and Nickelodeon.
Kanemoto's The Walking Dead opening sequence was done using 2D drawn images placed in 3D dimensional space, (X,Y, and Z axis') where the Camera moves around within this space. The animation is cinematic, clever, and captivating, and it can all be done in After Effects!
Watch The Walking Dead animation here: https://vimeo.com/15266890

You can take a look at Kanemoto's other works here.
The animation was done by Daniel Kanemoto for the television series The Walking Dead. Kanemoto is also the creator of Ex Mortis Films and has done other interesting animations for well-know names such as Animal Planet and Nickelodeon.
Kanemoto's The Walking Dead opening sequence was done using 2D drawn images placed in 3D dimensional space, (X,Y, and Z axis') where the Camera moves around within this space. The animation is cinematic, clever, and captivating, and it can all be done in After Effects!
Watch The Walking Dead animation here: https://vimeo.com/15266890

You can take a look at Kanemoto's other works here.
Thursday, February 4, 2016
Rotoscoping
This video is a short overview of how to make a rotoscope animation in after effects. Rotoscoping is when animators trace over footage, frame by frame. It turns live-action into animation. Rotoscoping is something that I find very interesting because of how realistic it can look. It also fascinates me how much work the animators have to put into drawing each frame to create a smooth animation. I find this video entertaining due to the fact that he shows us the live footage first and then reveals how he slowly turns it into an animation. He doesn’t go too into detail, but he highlights the general steps that are needed to accomplish rotoscoping.
Sunday, January 31, 2016
The Chickening.
I would like to share a video I found by a motion graphics artist named Nick DenBoer. He has done graphics professionally for a variety of known companies such as Conan, DC, and more. As far as I'm aware, he does much of his stuff in After Effects. As you will see a lot of it is very strange but extremely impressive in my opinion. The video below is a short film/trailer that is going to Sundance and several other festivals. It is called The Chickening. It uses clips entirely from the movie The Shining, but with many, many things added, from face replacements to all kinds of background objects. In this class, I hope to be able to enhance my abilities to anything near this level, and probably to a less disturbing degree. Without further a'do, The Chickening. I'm sorry.
As you can see, his ability to motion track and pretty much seamlessly add objects to a previously shot 2D scene is extremely impressive. I have done work like this in the past but nowhere near as complex on shots that moved as much as these. I look forward to extending my knowledge of After Effects and Mocha motion tracking as well as other similar plugins and programs. Check out his reel if you wish, and here is his YouTube channel.
Thursday, November 19, 2015
Lynda.com - ACCESSIBLE TO ALL OF US
So if you have not heard yet, lynda.com is now accessible for FREE to all of us now. Go to your myHome and it is the last tab on the left hand side menu.
Lynda.com is an online education company that offers thousands of courses and tutorials for softwares, creative applications, and business stuff. Basically, you can learn so much and there is so much to choose from. I know what I'm doing this break!
Check it out here: Lynda.com
There is also shorter versions of the courses available on YouTube. One of the ones that I recently saw was on cameras in After Effects. I think it's extremely useful.
Have a great lynda.com break everyone!
Lynda.com is an online education company that offers thousands of courses and tutorials for softwares, creative applications, and business stuff. Basically, you can learn so much and there is so much to choose from. I know what I'm doing this break!
Check it out here: Lynda.com
There is also shorter versions of the courses available on YouTube. One of the ones that I recently saw was on cameras in After Effects. I think it's extremely useful.
Have a great lynda.com break everyone!
Sunday, November 8, 2015
Interstellar black hole
Working together with a
prominent astrophysicist (Kip Thorne), the film's visual effects team created
what may be the first scientifically accurate display of a black hole on the
big screen. To fully realize director Christopher Nolan's vision for
"Interstellar," visual effects studio Double Negative was tasked to
"produce images of things that aren’t even in our dimension, and
furthermore have them accurate to not only quantum physics and relativistic
laws, but also our best understanding (guess) of quantum gravity.”
Thorne shared his knowledge
of black holes, and how he envisioned they would appear. Instead of the typical
movie version of a black hole, which is depicted as a breach within space,
Thorne’s research indicated black holes might be more like three-dimensional
spheres. The physical appearance of Thorne's black holes is colorfully
described in an interview with Paul Franklin in the Warner Brothers
behind-the-scenes video "Interstellar: Building A Black Hole"
(below):
Friday, November 6, 2015
Live Action mixed with Animation
I came across this pretty cool video on Youtube the other day. Typically when watching videos you don't see too often people combine live action and animation because it's not an easy thing to do, but this video does it. The concept itself has no meaning but the actual animation is pretty good! Here's the original video:
After I watched that video, I watched how it was made. That was cooler to me than the actual video. At first the video shows how the film was originally shot compared to how they edited it. I found it interesting that they used a rubrics cube for the cube, but everything else the actor had to just guess the size. After that it goes into detail on how each animation was made. I believe the program that they used was called Blender which is a 3D modeling program. I don't really know anything about it though and why someone would use that over Maya lets say. But there were a few things that they did that we learned in class so that got me excited like tracking. Though I don't know how to do that through Blender, I do know how to use it in After Effects! Here's the video on how the first video was made. I highly suggest watching the whole thing:
Thursday, October 29, 2015
Lightsabers: The First Effect I Learned in AE
I've used After Effects since 2009, right before I started high
school. I got into After Effects because I wanted to learn how to make my own
Star Wars fan films, particularly involving the infamous lightsabers. I was
inspired by a fellow VFX artist that I found through YouTube named Ryan Wieber. I first saw his famous youtube lightsaber fights titled: Ryan vs. Dorkman. Then I watched his tutorial from WAY back in the day (like early 2000s) on how to
make lightsaber glows in Photoshop and After Effects. It inspired me to want to
get after effects and start making my own effects for my movies.
So I got an EDU discounted copy of AE CS4, and started making
effects for my own videos. It did take some time for me to get use to the technique (let alone the program). I think I watched the saber tutorial at least a dozen times before I was able to memorize it by heart. And then I think it took about a year for me to understand the program in its most basic format.
Here are some samples of my earliest saber effects in AE:
And then as the years went by I kept practicing with AE, and slowly but surely, I got the hang of making a good lightsaber.
Here are some more samples from a few years after the previous ones:
But obviously, I couldnt just limit myself to lightsabers. I had to expand my skills to other effects. So then I started to watch tutorials from Andrew Kramer and Ryan Connolly of VideoCopilot and Film Riot. And I learned how to make all kinds of different effects.
Such as:
This particular post is not meant in anyway to show off anything or be a portfolio. I just wanted to share what my journey to learning After Effects was like, and what I did to learn the program. It took me a very long time to understand the program the way I know it now, and I'm still always learning new things about After Effects that I never really thought about in my earlier days. I'm in no ways a true master like Andrew Kramer is. I also really want to practice making effects and graphics in other advanced programs beyond just After Effects, like Maya (which we are learning in class currently), 3DS Max, Fusion, Nuke, and more.
I hope this post was inspiring in some way to those who might still be a little bit intimidated by AE. But dont worry, if you take some time and practice enough with it, make stuff that you think is cool (like I did with lightsabers), you'll get the hang of it in no time!
Friday, October 23, 2015
Kurzgesagt
The brain likes to learn. Over the summer the company I worked at was responsible for recording a lot of TED talks. If there's one thing I learned from sorting through and watching these lectures it's that the best TED talks are quick, informational, and usually have an endearing personality attached to them. Recently I've stumbled across a YouTube channel that takes these same principles and combines them with sleek and beautifully animated graphics.
I found myself tearing through these videos not only because they were so interesting, but because each poignant snippet of scientific jargon was elegantly matched by equally beautiful images. It just goes to show how eager one really is to learn when the information is presented to them in an engaging way.
I'd love to see how a video like this comes together but from what I've heard videos such as the one above require more over 200 hours of work so for now I'll settle for cutting up digital paper.
Tuesday, October 20, 2015
Poster Photoshop Fails
I don't know about y'all but I really like Photoshop and I'm constantly trying to grow and get better at the program. With After Effects, you may have come into contact with Photoshop a few times, especially if animation isn't one of your strong suits (like me). But something you got to be very careful with when you are trying to Photoshop is not over Photoshopping something. The image will then become distorted and unrealistic. I was looking up Photoshop tutorials and fails and I came across this article about the 13 best movie poster photoshop fails. If you want to have a good laugh, I suggest taking a peek at the article. It also gives you good advice when it comes to Photoshopping and making sure everything lines up. Such as making sure your eye line with every character is apparent. Or making sure that the lighting in the photo makes sense. If one of your objects in the poster is very bright and everything else in the photo is dark, make sure you darken that image so it doesn't stand out in a bad way. Also make sure you don't take people's fingers or teeth out of the poster. It might be obvious advice but clearly even the professionals need to be reminded of that as shown in the article. Take a look at it, I think it's worth it.
Thursday, October 1, 2015
More Rotoscoping
While considering what movie to place myself in, I've watched a number of YouTube videos of examples and tutorials of others doing so. Here I've found a short tutorial by Tara Arts Entertainment--though quite corky, it is informative and effective.
The man who makes the tutorials on this channel I find to be funny, knowledgeable and easy to follow. All things that make a difference when learning an extensive program like After Effects. The video above covers everything we talked about in class including the green screen, keylight (chroma key effect), in addition to other helpful how-tos like color matching.
Also, I found this quick little video to be something of interest. Here the artist takes a video of himself, then uses rotoscoping to create the outline for his desired animation.
Also, I found this quick little video to be something of interest. Here the artist takes a video of himself, then uses rotoscoping to create the outline for his desired animation.
Putting yourself in a scene, and Rotoscoping
One of our new projects for class is to insert ourselves into a movie scene using green screening. This effect was something that was actually done on my favorite YouTube Show about filmmaking: Film Riot.
Film Riot is an awesome show that teaches you "the effects and techniques that go into some of your favorite Hollywood films." So everything from pre-pro to production and post production, they cover most everything that it takes to become a filmmaker. And from time to time, they teach you how to how to do some cool VFX using After Effects. One in particular is how to insert yourself into the scene of a film, or in their case the trailer for the first Avengers movie. Its a really fun tutorial, and the technique is almost exactly what we talked about in class, which covered lighting, placement, and motion. If you need another reference for how to do this effect, this is definitely worth watching!
Also, earlier this week, I found a really great article that talks about the history of Rotoscoping. IT goes from when the technique was first invented in 1915 by Max Fleischer when he created Out of The Inkwell to what we use it for now. I love using this technique to make lightsabers and other fun laser sci fi-based effects. If you want to check out the article follow this link here: https://www.rocketstock.com/blog/rotoscoping-from-early-animation-to-blockbuster-vfx/?utm_source=facebook&utm_medium=post&utm_content=Rotoscoping:-From-Early-Animation-to-Blockbuster-VFX&utm_campaign=09-2015-facebook-posts
Film Riot is an awesome show that teaches you "the effects and techniques that go into some of your favorite Hollywood films." So everything from pre-pro to production and post production, they cover most everything that it takes to become a filmmaker. And from time to time, they teach you how to how to do some cool VFX using After Effects. One in particular is how to insert yourself into the scene of a film, or in their case the trailer for the first Avengers movie. Its a really fun tutorial, and the technique is almost exactly what we talked about in class, which covered lighting, placement, and motion. If you need another reference for how to do this effect, this is definitely worth watching!
Also, earlier this week, I found a really great article that talks about the history of Rotoscoping. IT goes from when the technique was first invented in 1915 by Max Fleischer when he created Out of The Inkwell to what we use it for now. I love using this technique to make lightsabers and other fun laser sci fi-based effects. If you want to check out the article follow this link here: https://www.rocketstock.com/blog/rotoscoping-from-early-animation-to-blockbuster-vfx/?utm_source=facebook&utm_medium=post&utm_content=Rotoscoping:-From-Early-Animation-to-Blockbuster-VFX&utm_campaign=09-2015-facebook-posts
Thursday, September 3, 2015
Cheat Sheet
I am not one proficient in After Affects (yet), therefore I've done a little research looking through blogs, tutorials--anything that will help me learn the program as quickly and efficiently as possible. Obviously, there is a ton of great information on the internet to potentially put into action (including the contents of this blog). But if you're anything like me, the basics have to be grasped first before getting ahead of myself. As we've talked about in class, shortcuts are the key to efficient use of After Affects (and arguably any Adobe program). I understand the importance of being able to navigate AE swiftly and thus I thought I'd share with my fellow animation newbies this:

That's right, folks! The After Affects Keyboard Cheat Sheet. Isn't it beautiful? And what's posted above is only the beginning! The entire PDF includes shortcuts for projects, tools, workspaces, time navigation, layers, text, and so much more. Definitely something to print out and keep in the back of your notebook.
The entire PDF document can be found here.
Thursday, April 9, 2015
The Rolling Stones
As a kid of the '90s, it's safe to say that Rock 'N Roll was a key element of my childhood. Whether it was Boston, Aerosmith, Led Zeppelin, or The Rolling Stones, I found a genuine love of the best classic rock songs. I remember watching old music videos on television and wondering how it was physically possible to create riveting visual effects. In an effort to help celebrate the 45th anniversary re-release of the Rolling Stones’ seminal album, ‘Sticky Fingers,’ Trunk Animation creates a lyrical video for an acoustic cover of the hit, “Wild Horses.”

The finalized video, created using Cinema 4D and After Effects, ultimately utilizes the track's gentle feel to create the pace, while the animation design evokes the song’s lyrics. Trunk Animation’s Layla Atkinson developed the artwork for the video using elements from the booklet, including fingerprints and smudges from each of the band members. Trunk Animation also manipulated multiple photos of the band, and degraded in Photoshop, in order to fit into the overall look and feel of the finished video.
It's an awesome work of art and definitely deserves a watch.
The finalized video, created using Cinema 4D and After Effects, ultimately utilizes the track's gentle feel to create the pace, while the animation design evokes the song’s lyrics. Trunk Animation’s Layla Atkinson developed the artwork for the video using elements from the booklet, including fingerprints and smudges from each of the band members. Trunk Animation also manipulated multiple photos of the band, and degraded in Photoshop, in order to fit into the overall look and feel of the finished video.
It's an awesome work of art and definitely deserves a watch.
Tuesday, March 24, 2015
Ray Traced 3D
In order to get the best 3D visuals in After Affects often using Ray Traced 3D is the best option. Ray Traced 3D is when an image is made based on tracing the path of light through pixels in an image plane and making the effects based on this. This will take a longer render time but ultimately will help drastically with the realism of your design.

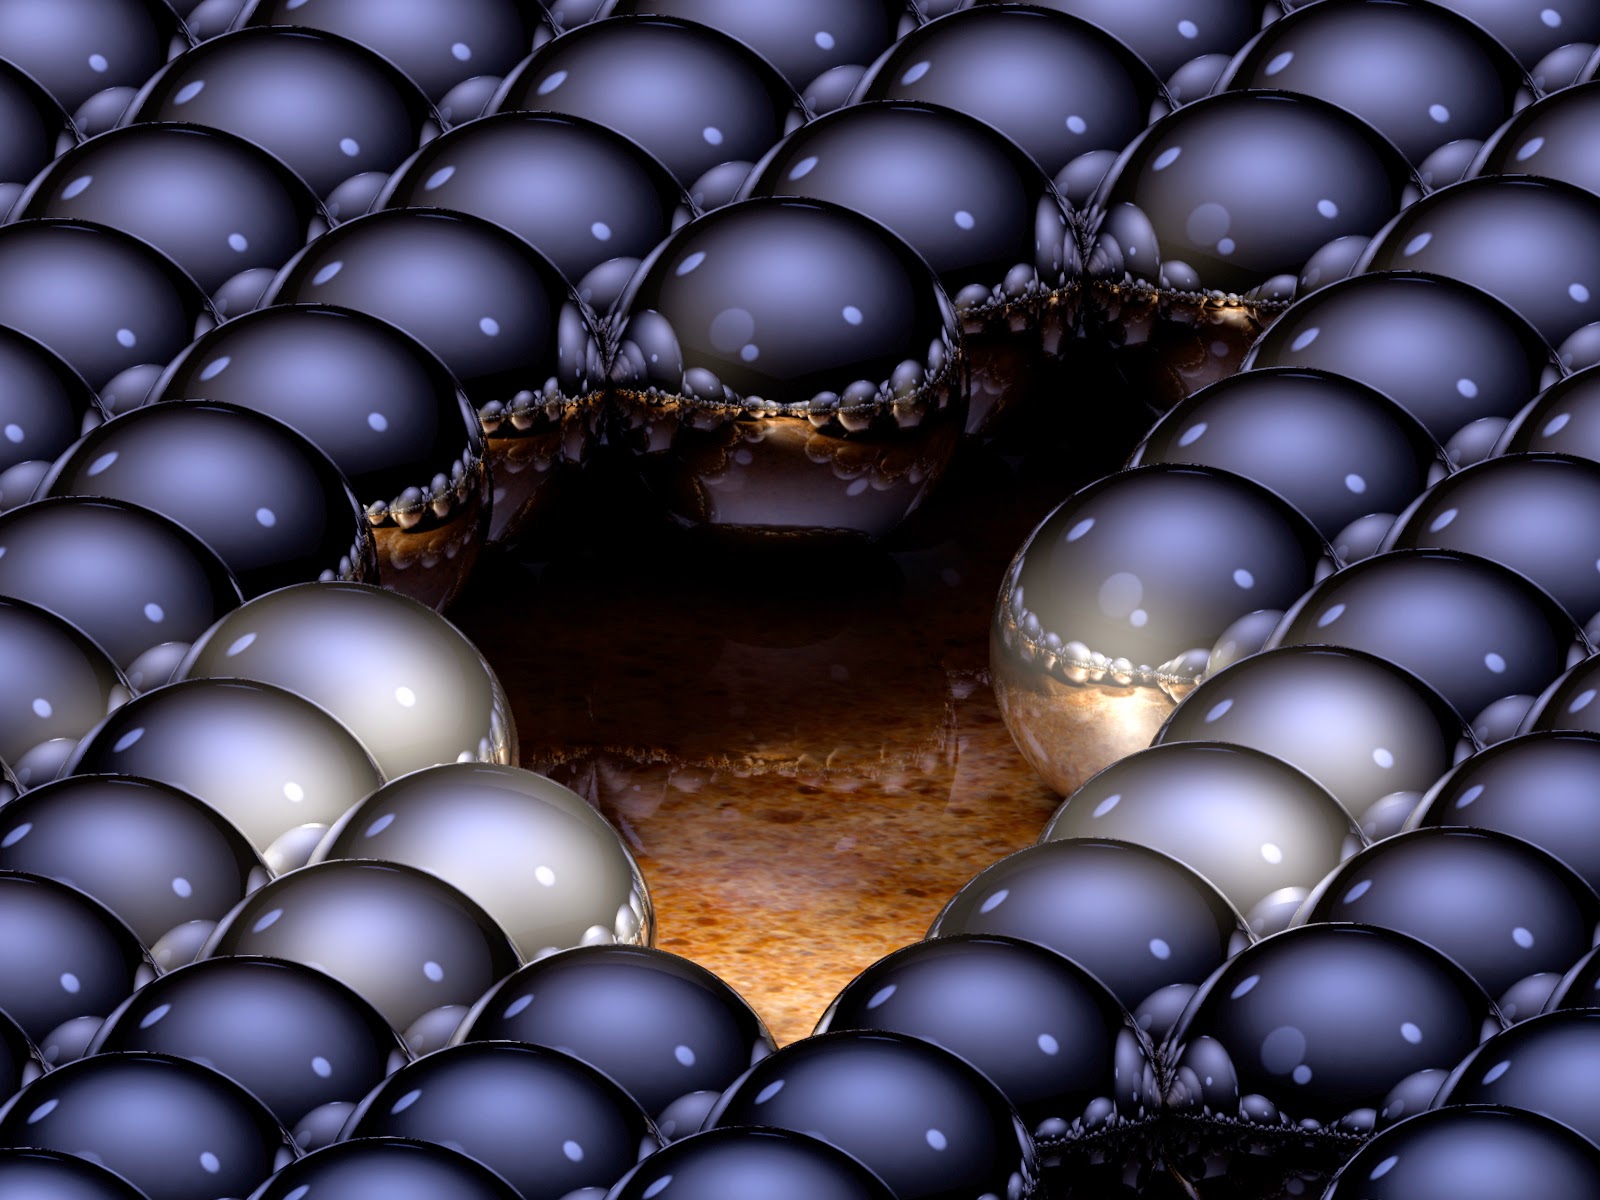

Because Ray Tracing takes a long time to render sometimes it is not optimal to use it until you have enough time to let your computer sit and render things for awhile.
In order to understand Ray Tracing one must first understand some general properties of light. once light has been emitted from a source 4 things can happen. It can either be reflected, refracted, absorbed or fluoresced. In order to have a realistic image the behavior of light within that image must be realistic as well which means including these 4 properties which Ray Tracing does by algorithm and genesis.
In the image below one can see the difference between Ray Traced 3D text and a 3D text which is not Ray Traced
Here is a helpful link to a more detailed description on this feature: Ray Tracing
Subscribe to:
Posts
(
Atom
)